beauty

Melt Proof Makeup

Melt Proof Makeup | The Lipstick Tales

The most asked question I’ve had lately from my friends is, “How do I get my makeup to stay in place?” Living in Texas, makeup can easily sort of “melt off” especially in the summer months. No one wants to have re-apply makeup throughout the day, but you also don’t want to use heavy products that will just weigh you down in the heat. Of course, I definitely don’t wear makeup every day in the summer, but when I do I want it to stay put. I’ve rounded up my best tips so you can have melt proof makeup this summer.

1. Prime.

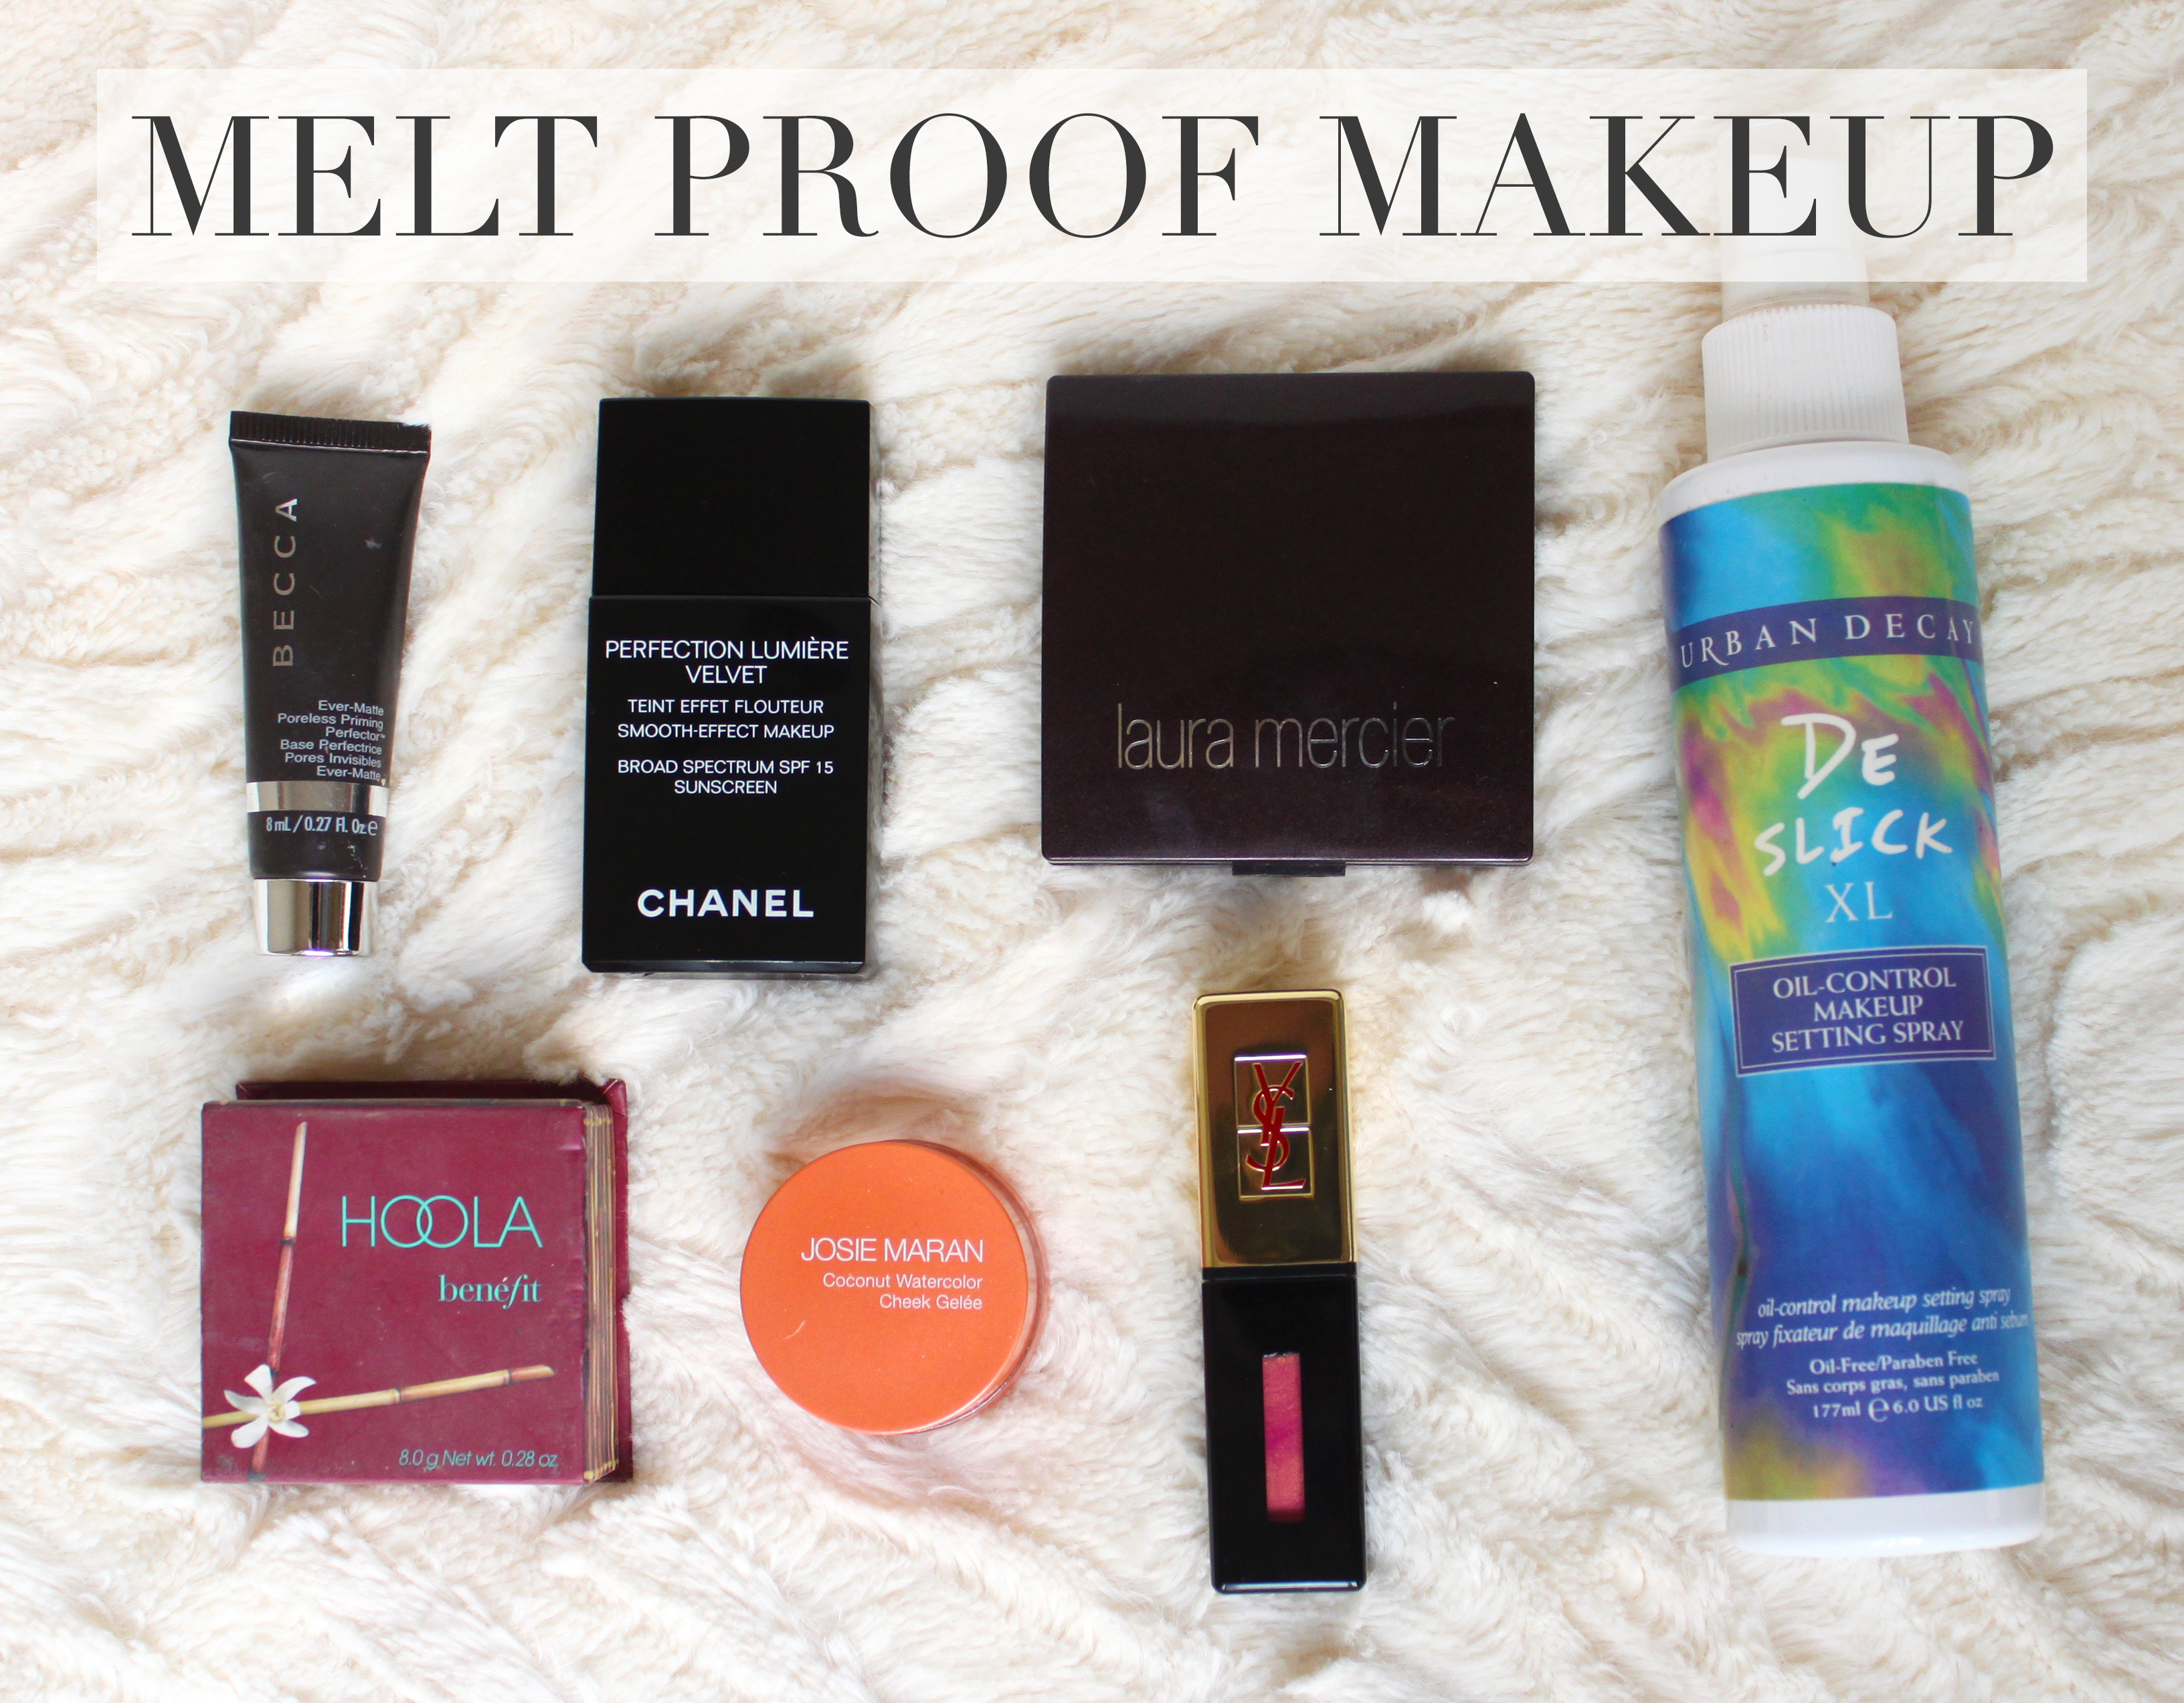
Priming everything is essential to keeping your makeup in place. Start with clean, moisturized skin. I tend to opt for a gel moisturizer like First Aid Beauty Mattifying Gel or Boscia Black Hydration Gel since I have oily skin, and this is great for normal skin in the summer too. You’ll then want to use an all over face primer. Becca Ever Matte Poreless Priming Perfector has been my favorite lately. It’s got kind of a strange consistency, it starts off kind of sticky but then just dissolves perfectly into your skin. Also be sure to use an eye primer before applying any eyeshadow.

2. Foundation.

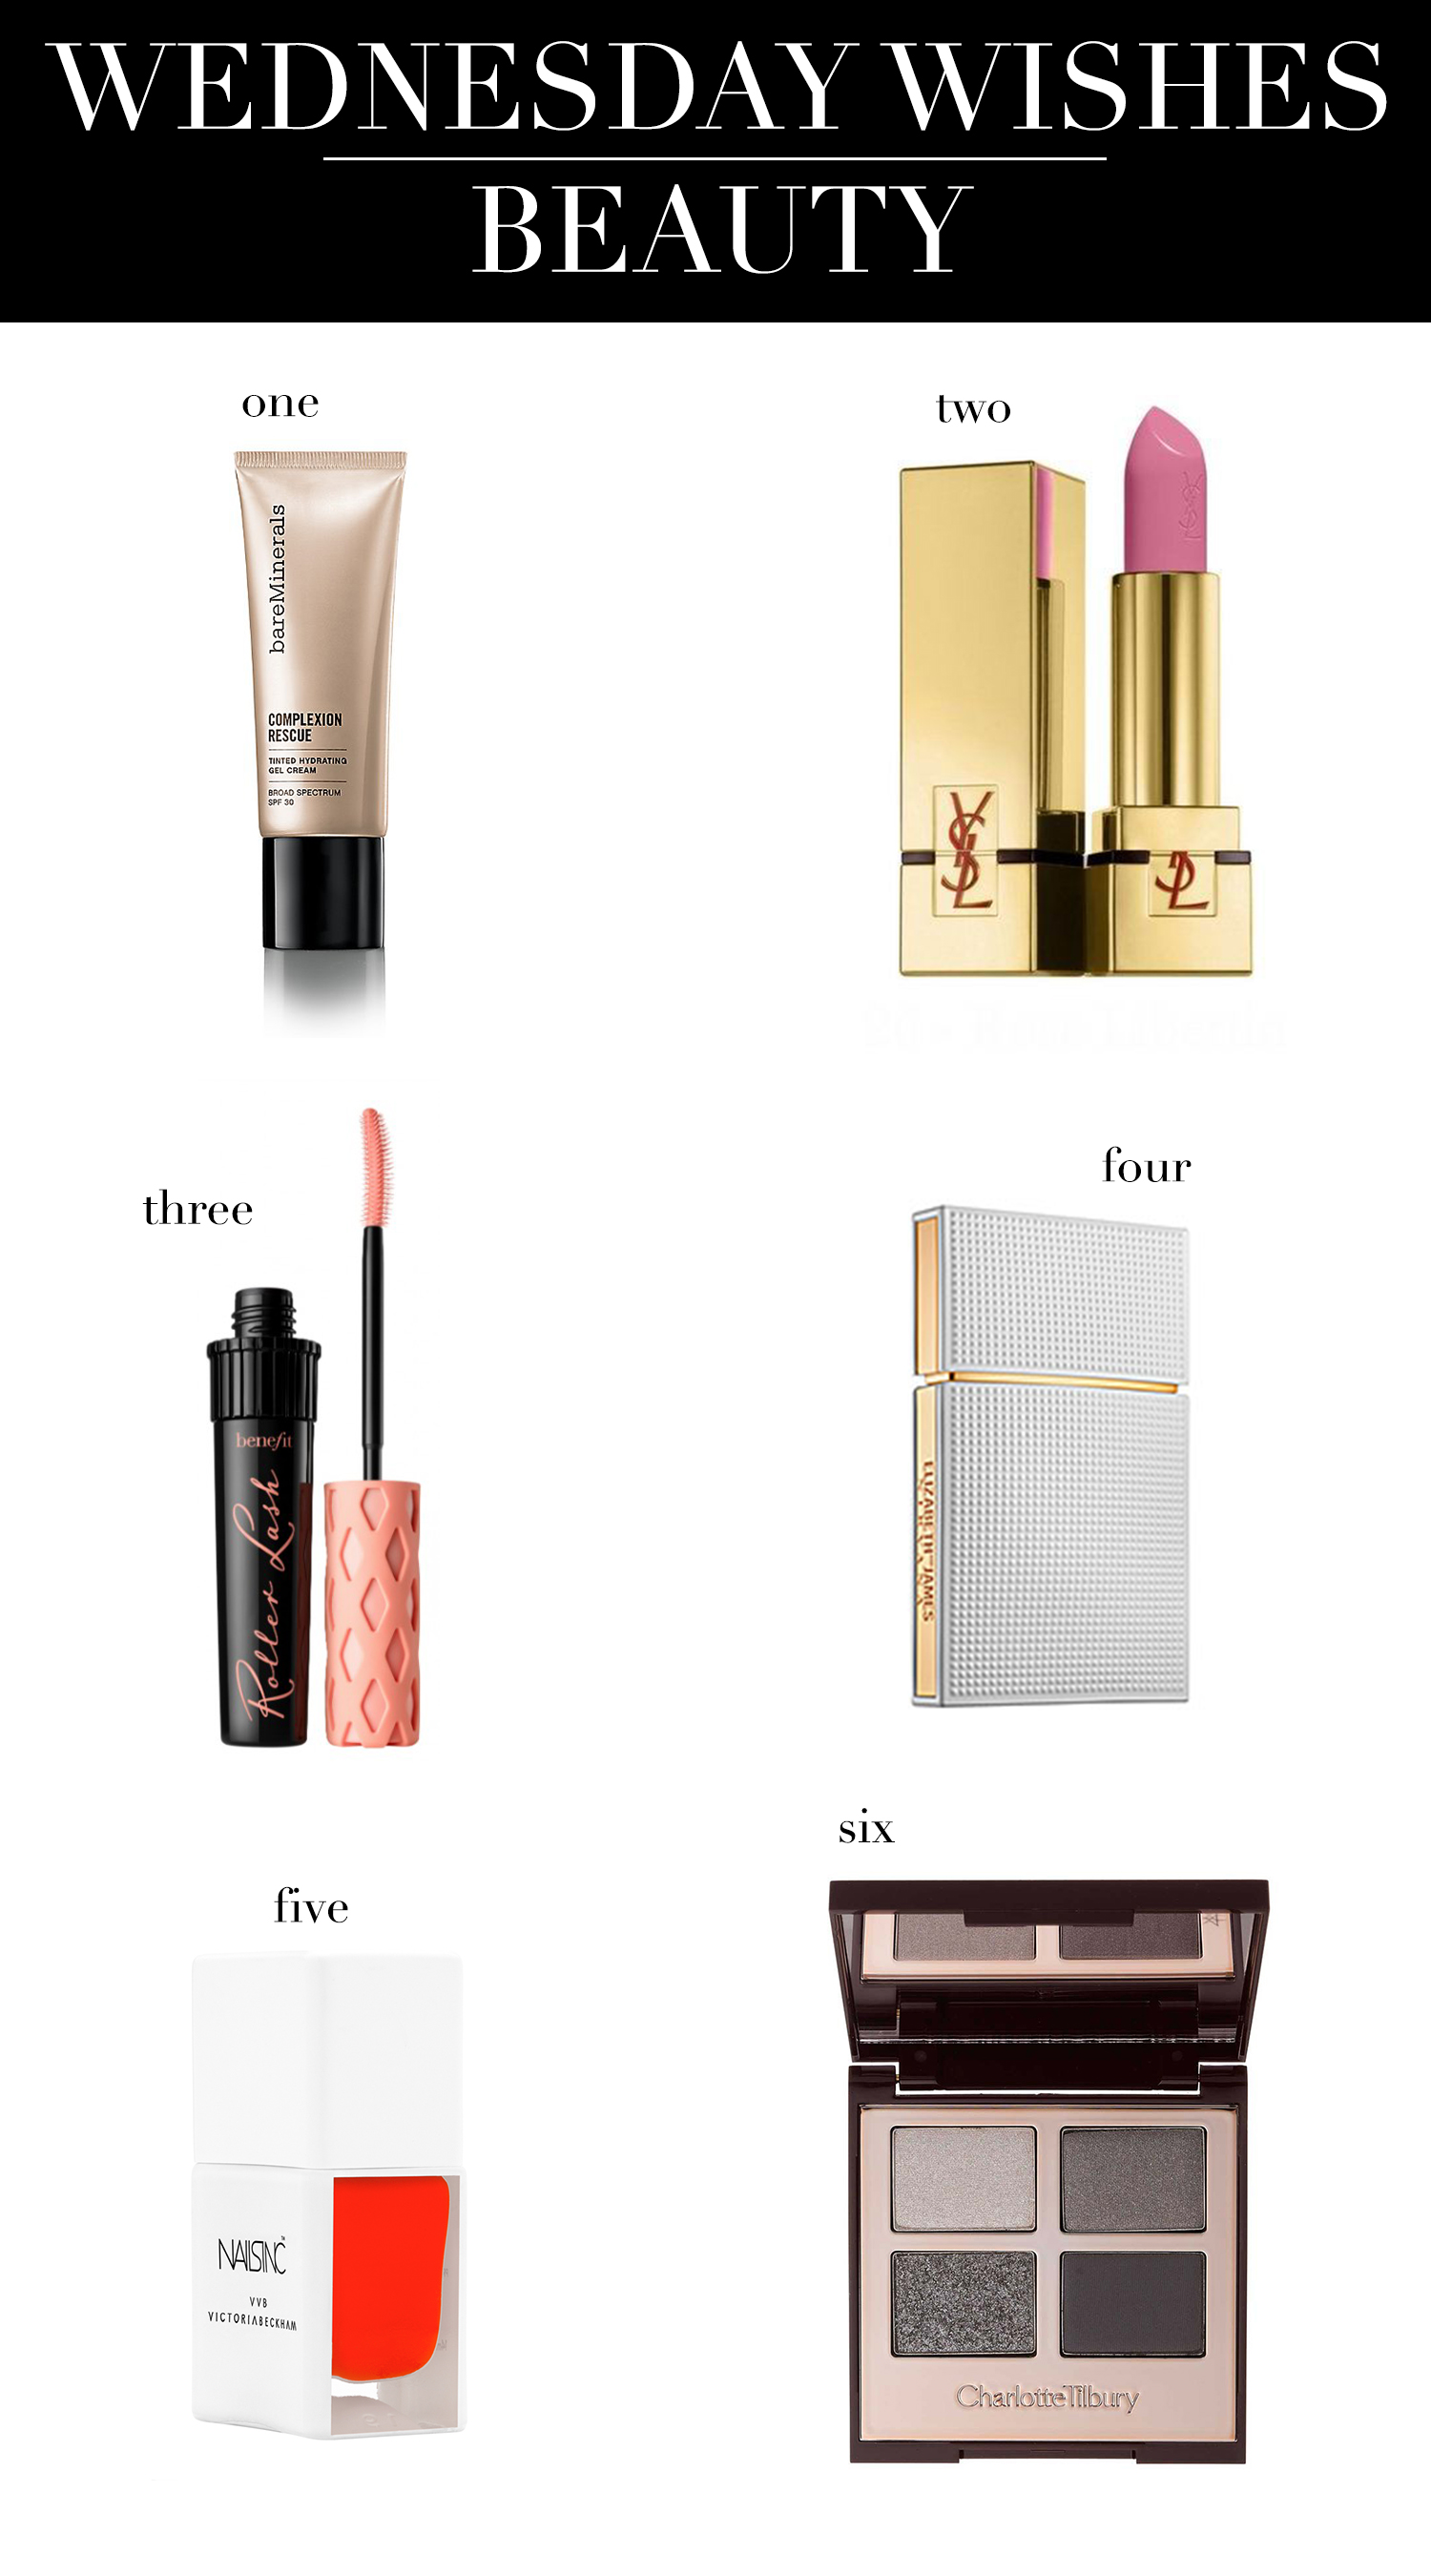
I love lightweight foundations in general, but they’re essential in the summer. Who wants full coverage heavy foundation when it’s over 100 degrees out? Not me! Bare Minerals Complexion Rescue and Chanel Perfection Lumiere Velvet are the ones I find myself reaching for most when it’s hot outside. They’re lightweight but still provide great coverage. If you can’t separate yourself from your favorite full coverage foundation, I suggest adding a little bit of moisturizer to keep it from being heavy in the heat.

3. Powder.

Powdering will not only help set your makeup, but also help prevent any unwanted shine that you might gain throughout the day in the heat. Over-powdering is traditionally a no-no, but in the case of the Texas heat you will most likely want to. The powder will be absorbed throughout the day preventing shine without making you look dull. I love this powder, and it’s universal!
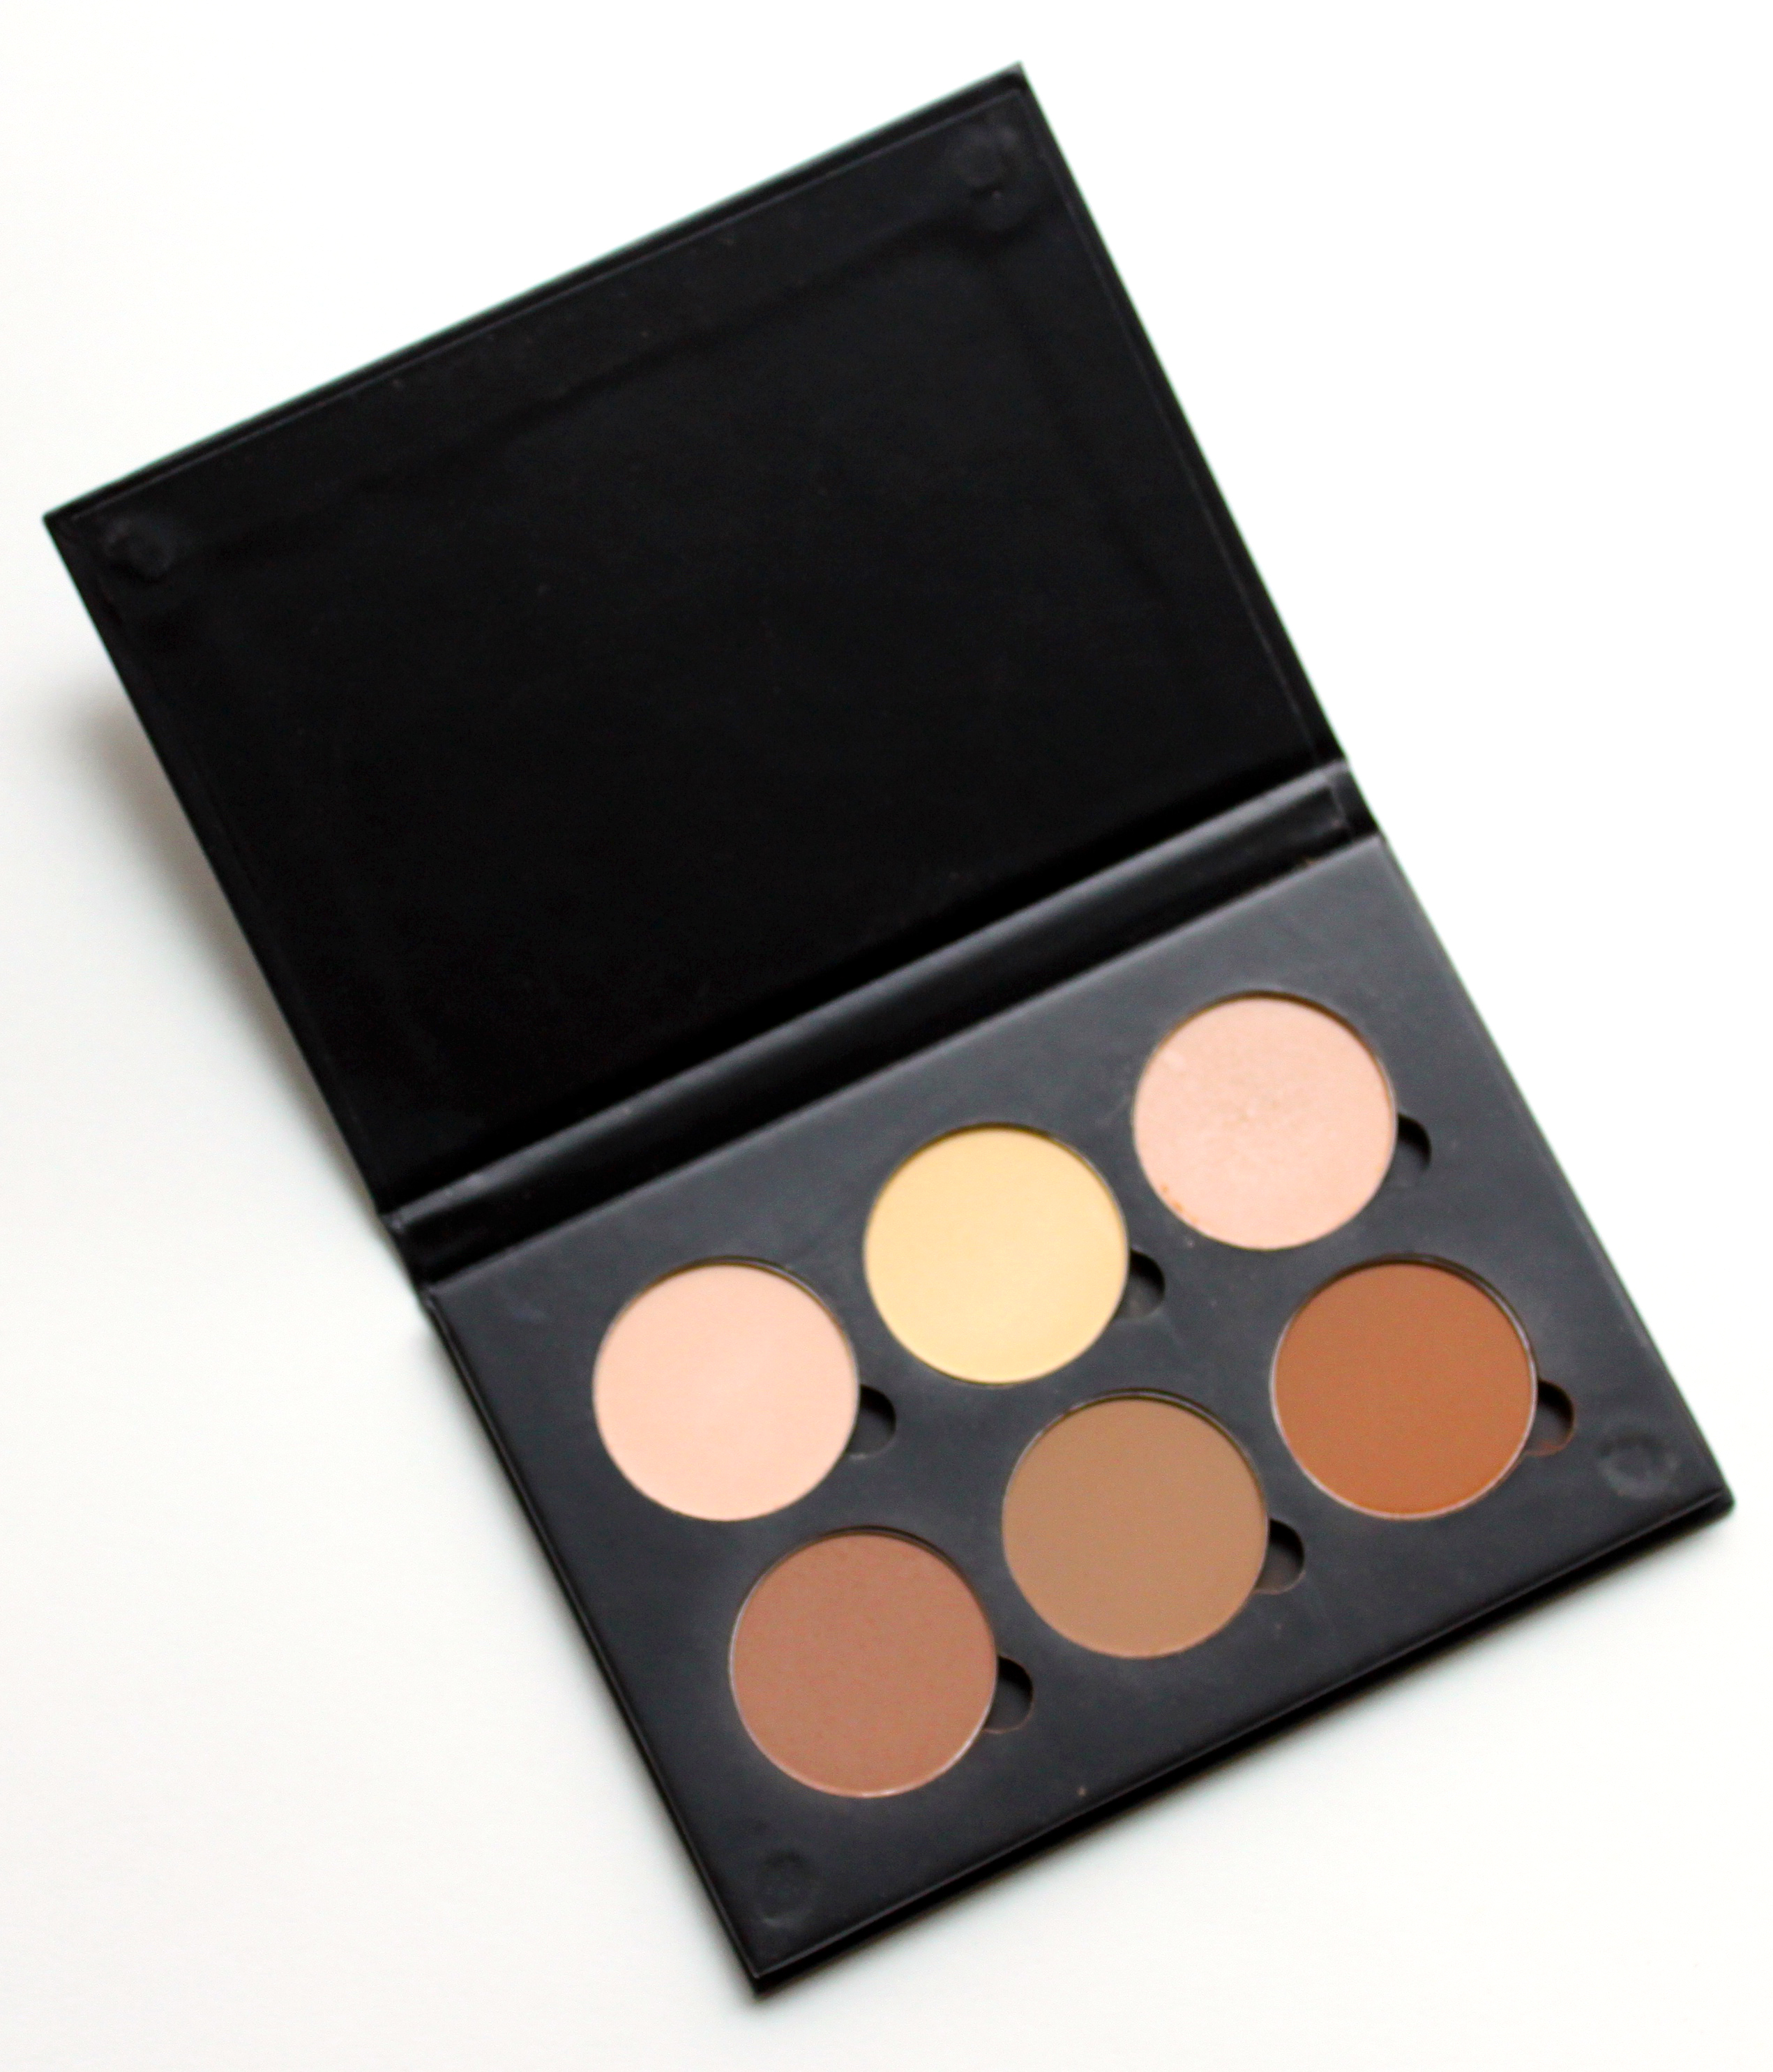
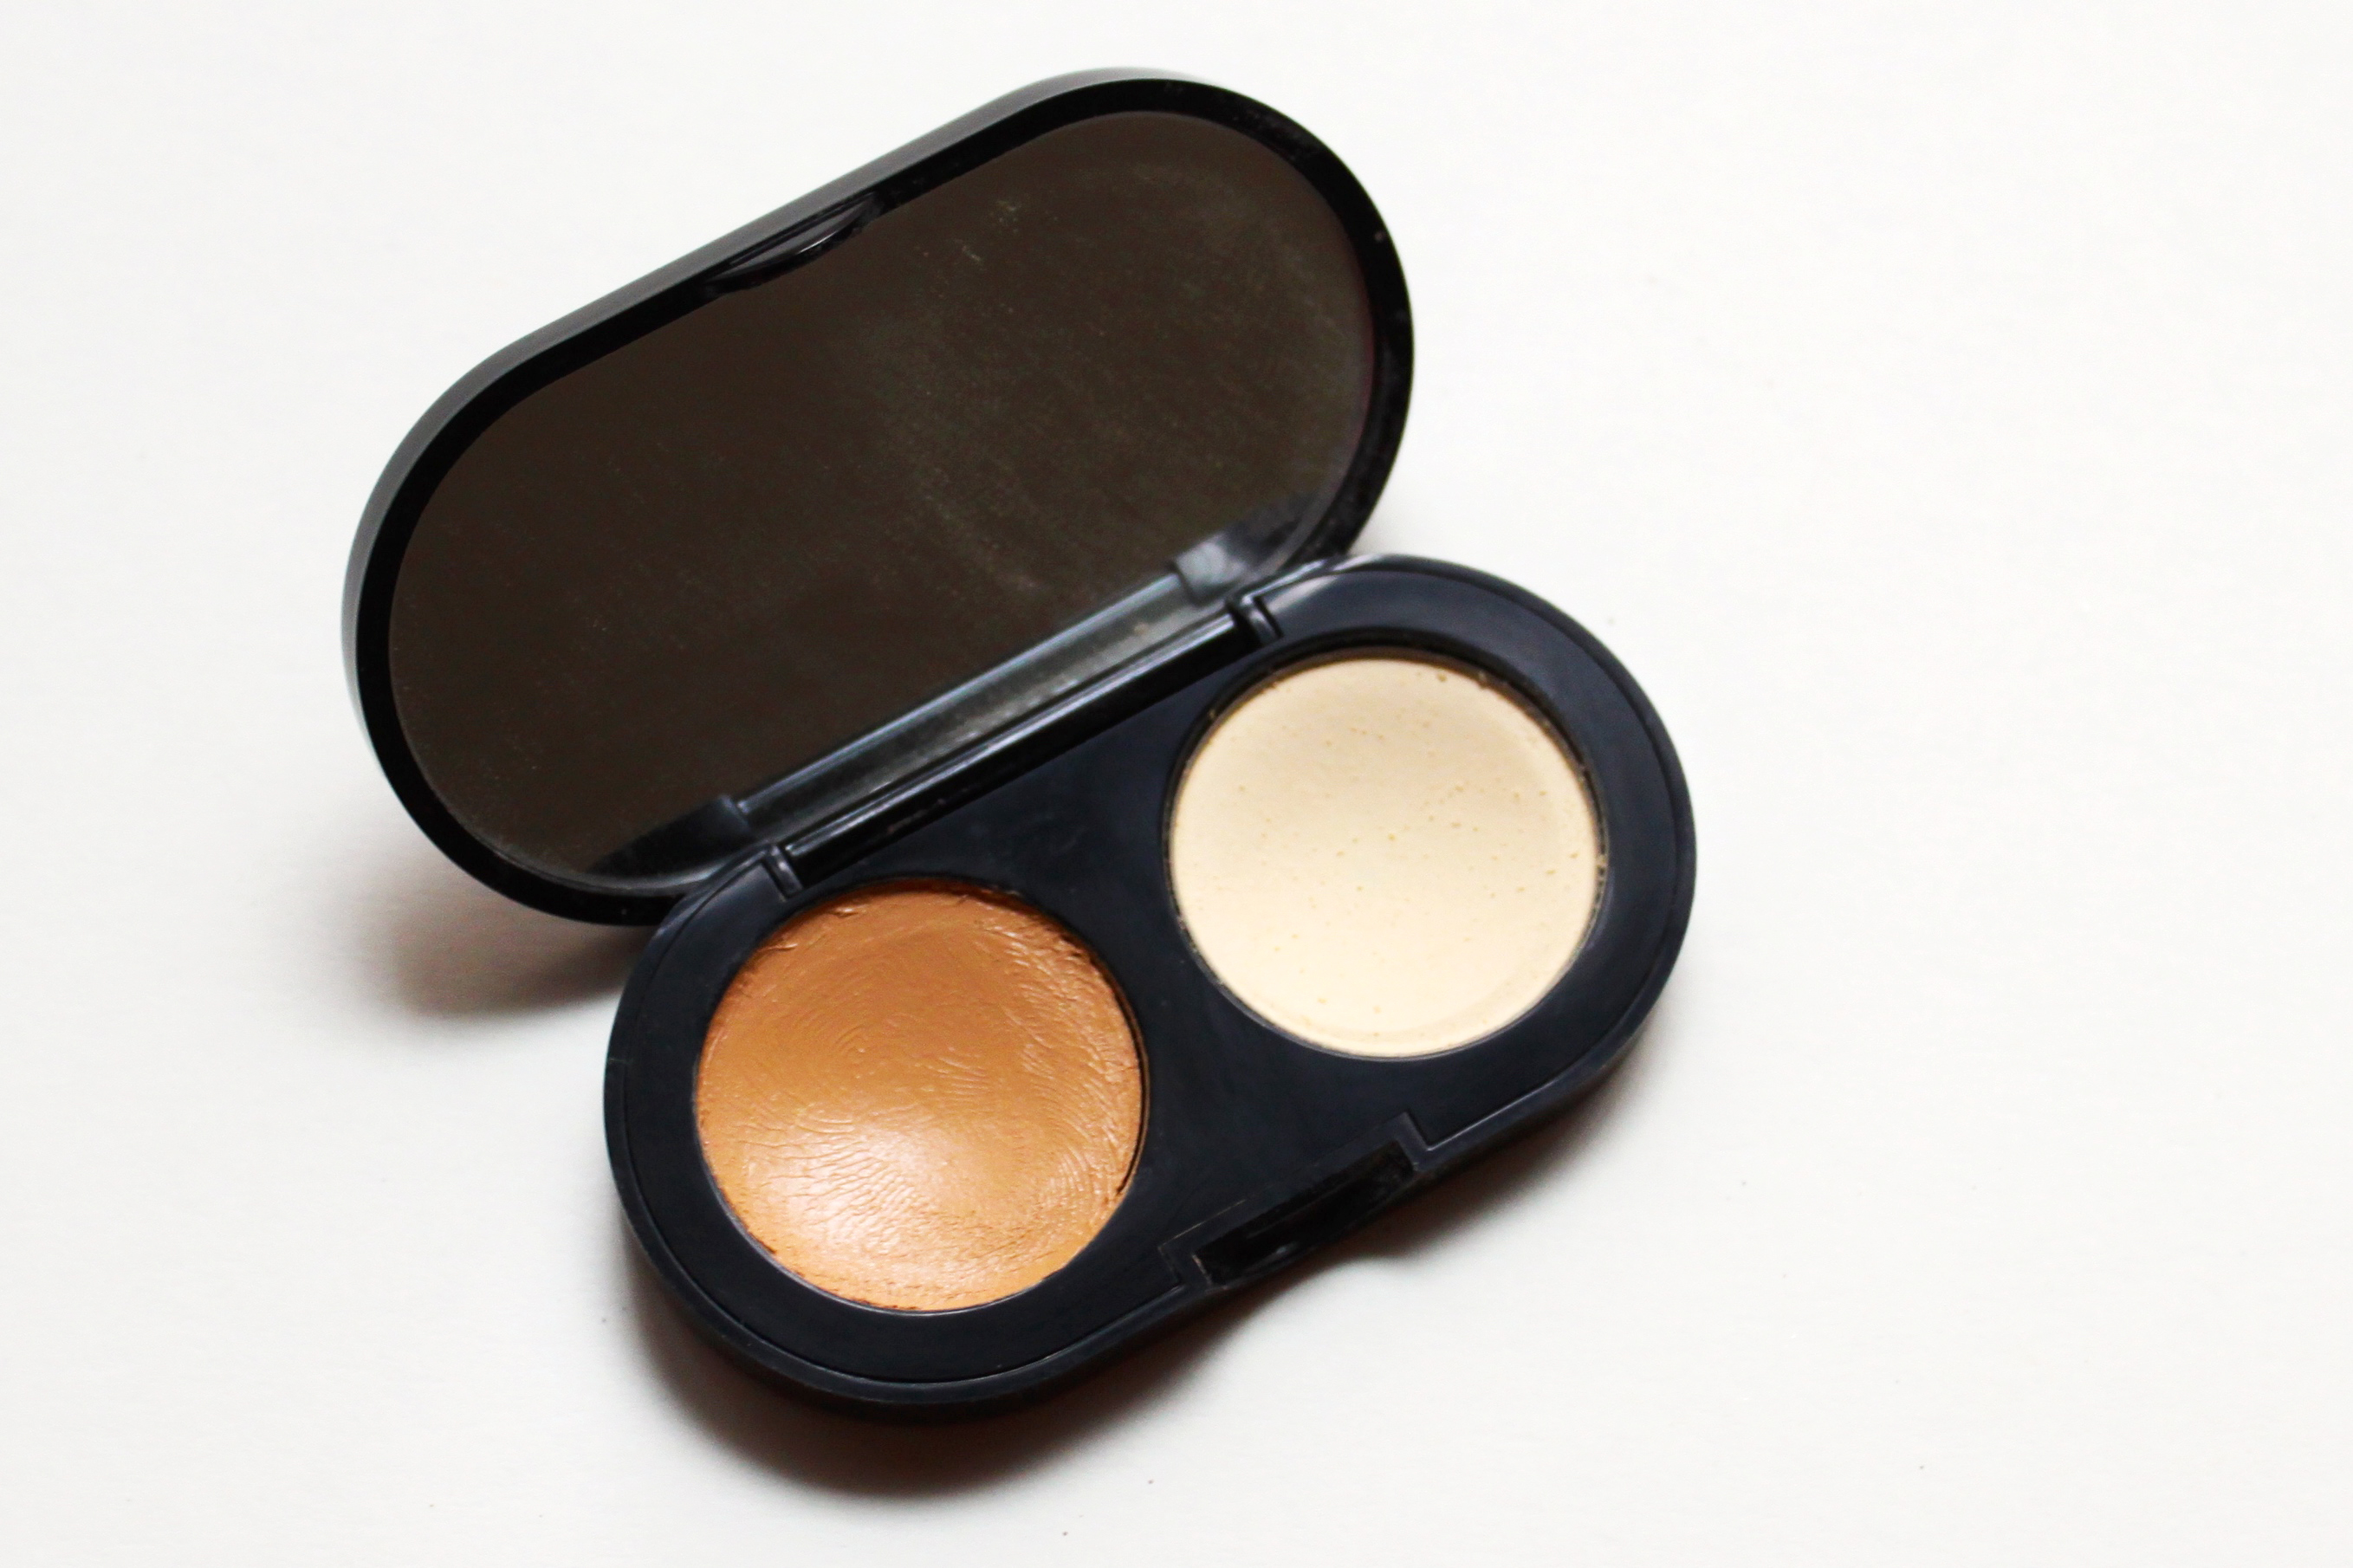
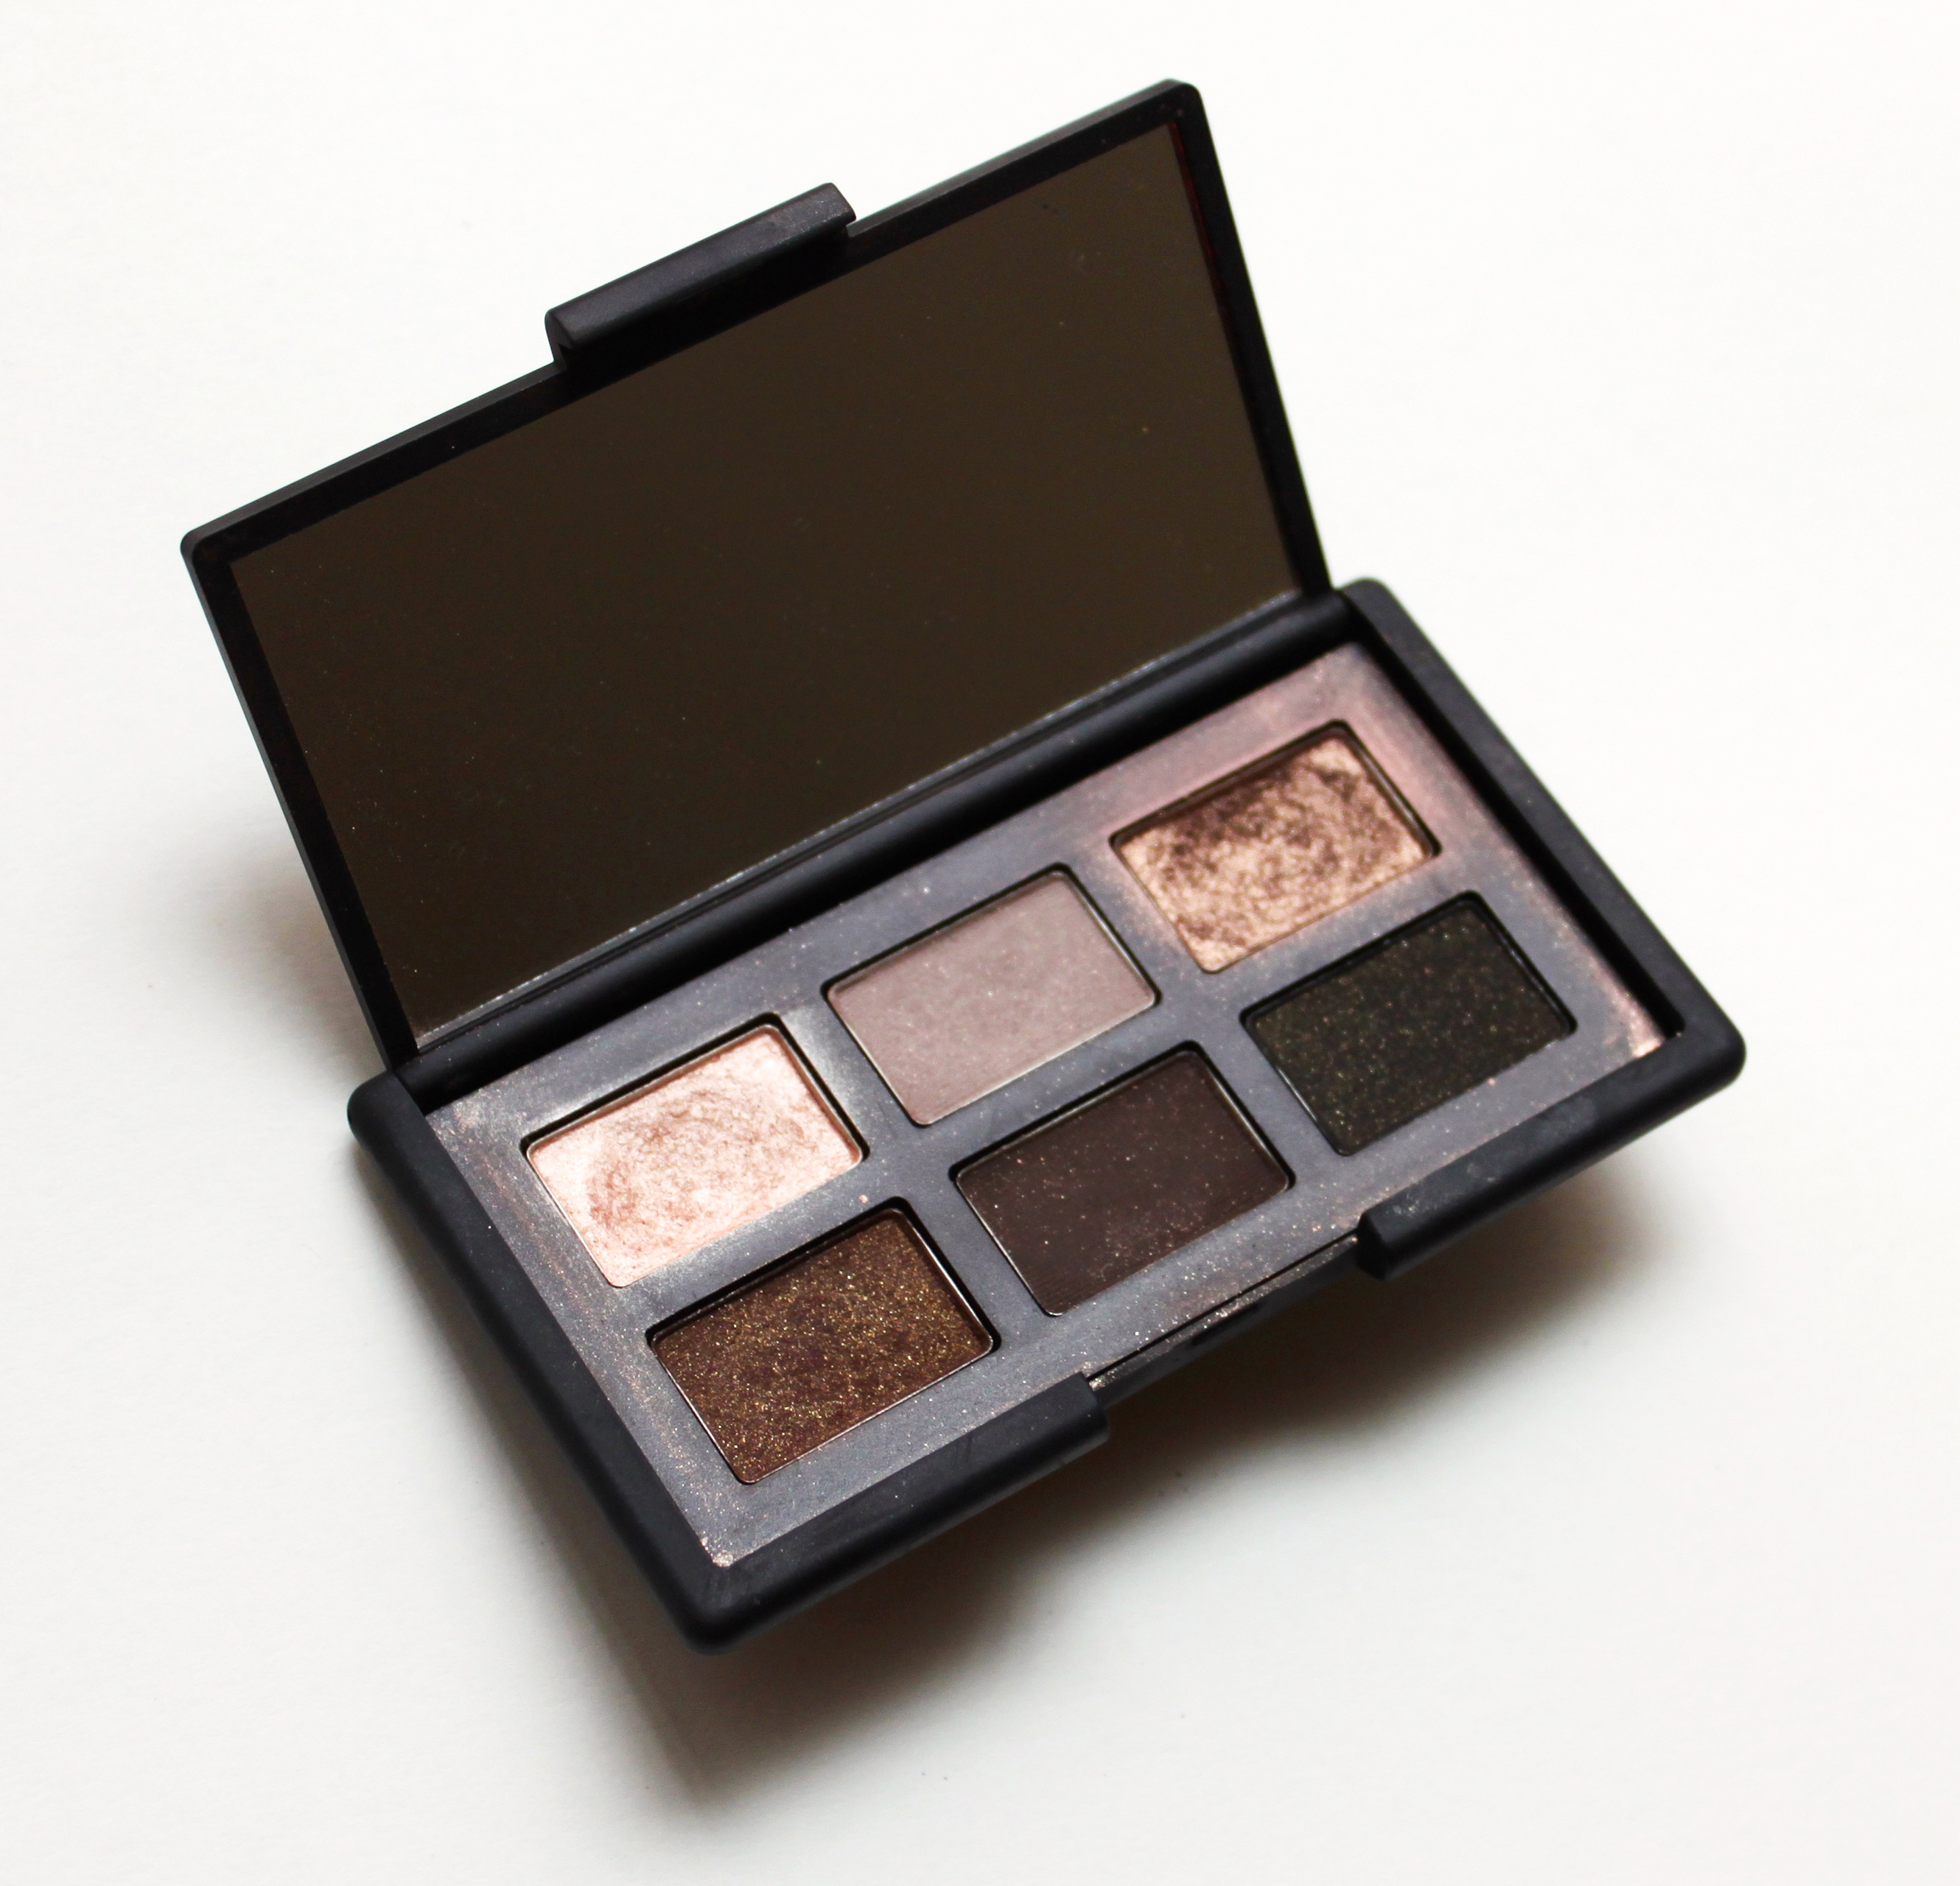
4. Bronze.

What’s summer without bronze skin? If you fake tan like me, chances are your face is at least 3 shades lighter than the rest of your body and bronzer is your BFF. I love matte bronzers so that I can contour just a little while getting an all over glow. This one is my go-to, and this palette is amazing as well.

5. Blush.

I love using cream blushes in the summer. They’ll absorb into your skin and you can’t necessarily sweat it off like you could a powder blush. This one by Josie Maran is my favorite. It provides 14 hours of color and it’s moisturizing. Seriously, it feels amazing on your skin – no sticky feeling whatsoever. I love that the color is buildable, so I never end up with too much color.
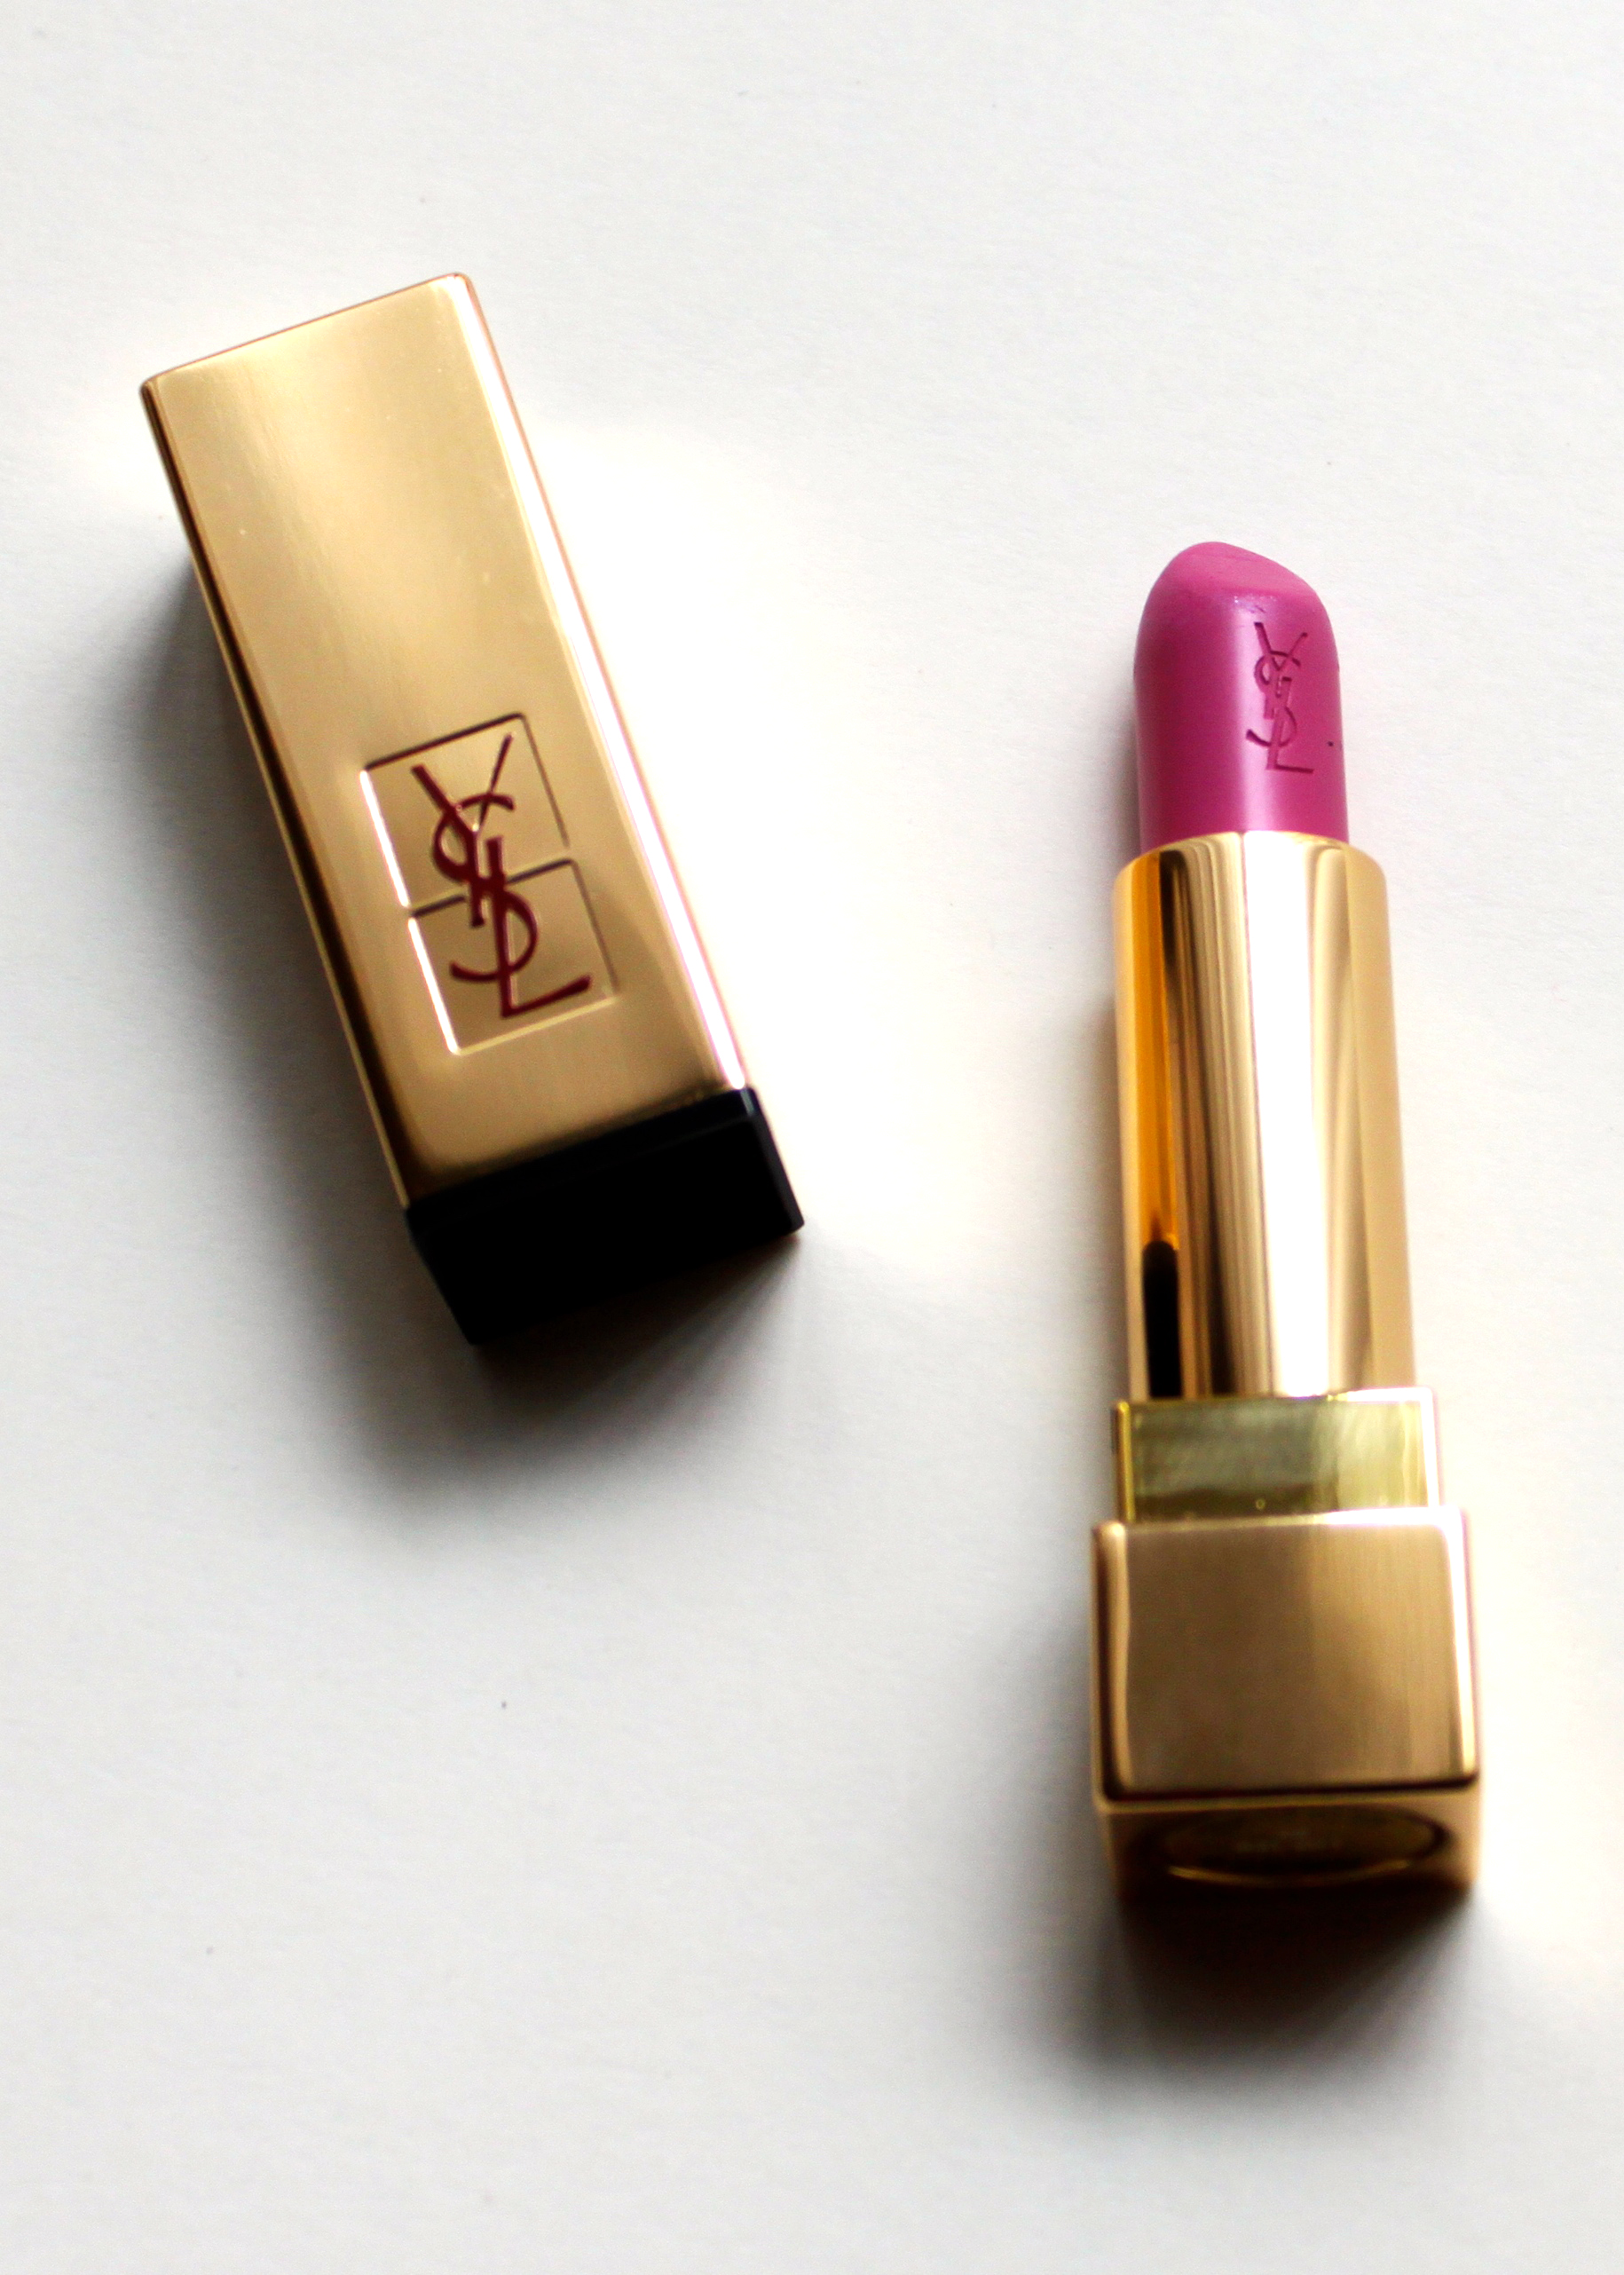
6. Lips.

It’s no secret that I love lipstick. However, lipstick can feel a bit heavy on a hot day. I always find myself reaching for lip stains like this one, or one of YSL’s Glossy Stains. The also just came out with this line of “Pop Water” stains that I’m dying to try. This way you get the lip color that’s suited for summer!

7. Set.

The biggest trick to keeping your makeup in place? Setting spray. Urban Decay’s De-slick does the trick for me. My bottle has lasted me forever – you can tell since it’s still the old packaging. This one will keep your makeup lasting all day, even in the summer heat. I spray my face with it after completely finishing my makeup, but for extra staying power, I’ll spray my face before too as a sort of primer.

And that’s it! Following those tips will ensure that your makeup will stay in place all day, even in the heat. I hope these are useful to you, thanks so much for reading! Do you have any favorite products suited for summer? Let me know in the comments! 🙂

signature

P. S. Texas girls prepping for sorority recruitment in August, these tips and oil blotting sheets will be your lifesaver!

The Perfect Tan

St. Tropez Bronzing Mousse

First off: I’M BACK. This semester was by far my hardest semester of college, hence the unplanned 2 1/2 month hiatus. It’s over now (thankfully) so I’m switching my focus back here! Now on to the good stuff.

So, it’s June. And if you’re in Texas, chances are your skin hasn’t seen the sun in a good month. How on earth do you convince yourself it’s actually summer with all this rain? Two words: self. tanner. St. Tropez Bronzing Mousse (pictured above) is by far my favorite. It has a green undertone, so it won’t make you look orange at all and it dries SO FAST. So how do you get the perfect tan? Just follow these four easy steps.

One. Exfoliate! Trust me, you don’t want to skip this. Don’t come crying to me if you do and a week later you’re scaly and your arms are 2 different skin colors. Exfoliating will help make sure your tan is even and help it last longer. Also, a loofah alone is not enough. Get yourself a heavy duty scrub and be rid of all the dead skin you possibly can. I recommend exfoliating about a day before you plan to apply your self tanner, this way your skin cells can rebuild just enough for perfect application.

Two. Apply your tanner. Clean skin is a must- this means no lotions and no deodorant. Deodorant can sometimes make the self tan turn green. I don’t know about you, but green pits are not my jam. If you’re using a mousse like the St. Tropez one, be sure to purchase the mitt that goes with it. This will ensure even and easy application, and you won’t have any over-tanned hand mishaps. For tanning lotions, I just use my bare hands and wash them immediately after.

Three. Rinse off. Most self tanners you’ll want to rinse off a set amount of time later. Some are okay to rinse off after a few hours, but only if the bottle specifies this (try the express bronzing mousse if you wanna shower earlier!) For most other products you’ll want to wait 8-12 hours before getting your skin wet again. If you feel sticky at all during this time, brush your skin with baby powder and a powder brush to keep the stickiness at bay. When you shower, use a shower gel without any exfoliation (no washcloths, loofahs, exfoliation beads in the wash) and PAT your skin dry with your towel. Rubbing your skin with a towel after showering exfoliates your skin, hence taking off your tan that you’ve so carefully applied.

Four. Moisturize frequently. This is so important! You have to keep your skin moisturized if you want your tan to last. The best lotions to use are those that are unscented and have very low (preferably none) alcohol contents. I really like Eucerin for post-tanning. I also love Jergens gradual tanning daily moisturizer in medium to tan. Alcohol is higher up on the ingredients in this one, but it also is gradually maintaining your tan as you moisturize. Even though I don’t exactly fit the bill for “medium to tan” skin, I like that this one gives more color than the “light to medium” formula.

 And there you have it! Following these steps will help give you a beautiful, lasting tan that will trick everyone into thinking you just spent a week at the beach. Do you have a favorite tanning product? Let me know!

signature

Current Makeup Favorites

Current Makeup Favorites - The Lipstick Tales

Okay, so I know I’ve been MIA for over a week, but midterms got the best of me. I’m now officially on spring break and I’ve got some posts coming up for you! I originally intended for this post to be kind of a “February Favorites” but considering we’re almost halfway through March now (how did that happen?!) it’s just kind of a “current makeup favorites” that I can’t get enough of instead! Some are new products, and others are some rediscovered loves I had forgotten about.

Anastasia Contour Kit Favorites - The Lipstick Tales

Anastasia Contour Kit

First up is a new product. You’ve probably heard about it by now since it has a cult following. I bought it recently because I had run out of bronzer and was looking to try something different. If I want to go for an all over bronze look, I use the bottom left bronze color. For contouring, I like the bottom middle bronze color. It’s more cool toned, so it’s more suited for contouring than the other two. Your ideal contour shade is more cool toned, and maybe even a little bit grey. I bought a contouring brush to go along with the palette to create the perfect look. Of the highlighting shades, the middle banana one is by far my favorite. I use it under my eyes, and nothing brightens up your face like this powder does, it’s amazing. You don’t really even need under eye concealer with it. I also like the top right highlighting color for the tops of my cheekbones since it has shimmer to it. They’ve also just released a palette for medium to tan skin if these shades are too light for you.

Benefit Roller Lash Favorites - The Lipstick Tales

Benefit Roller Lash Mascara

Okay, so ignore the fact that this is a little sample of the mascara (I just bought the full size one!) and let me tell you – this is my new favorite mascara. The whole “hook and lift” thing it’s got going on seriously separates and perfects your lashes. I’m one for using multiple mascaras to achieve the lash look that I like, but I don’t really need to with this one. Benefit really knows their stuff with mascara. I still love They’re Real but this one will be taking the role as my favorite for now.

Bobbi Brown Creamy Concealer Kit Favorites - The Lipstick Tales

Bobbi Brown Creamy Concealer Kit

This product is actually a rediscovered love. It’s amazing at covering under eye circles because it is peach toned and cancels out the blueness of the circles. The color I have is “Natural” and it’s a little bit dark, so if I repurchase it I will definitely go lighter. I had it color matched to me when I had an intense airbrush tan (not my best decision for purchasing a product…) but since I still try to maintain a faux glow the color works for me. On the right side of the compact is a light yellow powder, and I use that to set the concealer. It works really well and also helps to brighten up your under eyes.

NARS And God Created the Woman Eye Kit Favorites - The Lipstick Tales

NARS And God Created the Woman Eye Kit

This one is also rediscovered. I actually thought that I didn’t like the product for a while, but then I started using a different eyeshadow brush with it and loved the pigmentation of all the shadows. The palette has a very 60’s vibe, which is pretty much my favorite decade as far as makeup trends go. Mine is from the first release of the palette, so if you buy it new now the colors are in a little bit of a different order. I love the top two corner ones the most, if you couldn’t tell. Also, I believe that all of these colors can be found in NARS duos or single eyeshadows as part of their permanent line, so if you run out of one it’s easy to replace.

YSL Rouge Pur Couture Favorites - The Lipstick Tales

YSL Rouge Pur Couture Lipstick in Rose Libertin

And lastly, a more recent purchase. I love the formula of YSL lipsticks because they’re so creamy and pigmented, and I actually think I prefer the Rouge Pur Couture over the Rouge Volupte Shine. I picked this color because it’s similar to one of my all time favorites, NARS Roman Holiday, but Rose Libertin is a bit brighter and more lilac. Plus, who can resist the perfect gold packaging of this lipstick… how can you not feel glamorous putting it on?!

Thank you so much for reading, I hope you all have a great Friday!

signature

How to Get Better Skin

Your skincare routine has a great effect on determining how “good” or “bad” your skin is. I used to be perfectly content with simply using a makeup wipe to take off makeup and then go straight to bed. That lazy girl within me was probably the entire cause for any skin problems I had. My skin right now is the best it’s ever been, because of my skincare routine. Although I’ve been pretty lucky I’ve never had problems with acne, (thanks for the good genes Mom & Dad!) I do still get an occasional breakout like everyone else. However, with my current skincare routine I’ve seen less redness, softer skin, and I can’t remember the last zit I had (knocking on wood now…) You can live this dream of great skin too! Here are my suggestions on how to get better skin.

The Lipstick Tales - Skincare Favorites

1. Actually wash your face.

Okay, I know that this seems like a no-brainer but a face wipe does NOT count as washing your face. I used to be so guilty of this. Face wipes don’t clean your pores as well as they need to be, but they can be a good first step to remove makeup. However, I suggest using a cleansing oil or cleansing milk to remove makeup. (Read my whole post about these here!)

2. Wash it again (and use a wash cloth!)

My post on cleansing oils also talks about why double cleansing is great. It helps you deeper clean your pores. After removing makeup with a cleansing oil, I wash my face with this detoxifying cleanser. Also, using a wash cloth will help clean your face better. Into the Gloss has a great article on how to pick the best wash cloth.

3. Use a toner.

Toners will help remove anything your cleanser left behind – any little traces of makeup, oil or dead skin. Avoid using one that contains alcohol because it can be too drying on your skin. I really like this one because it’s natural and soothing.

4. MOISTURIZE.

This was the hardest one for me to learn. My thought was always, “I don’t need to moisturize, I’ve got oily skin.” I was wrong. Not moisturizing can actually make your skin over-produce oil, which can lead to breakouts. You have to make sure to pick a moisturizer that is suited to your skin type. If you’ve got oily skin like I do, opt for something lightweight or a gel. If your skin is dry, you’ll want something more like a cream. You will also want to use something with SPF during the day. I use this moisturizer in the morning, and this one at night.

5. Use face masks or pore strips.

Masks and pore strips are also great to deep clean your face in ways cleansers can’t. I love Lush’s face masks (especially cupcake – smells so good!) as well as this Boscia mask (I really like the whole Boscia black line ok) and Biore pore strips to get rid of unwanted blackheads.

6. Drink lots of water.

Seriously. LOTS of it. Your skin and body will thank you. Avoid hot showers too – they strip your skin and hair of moisture!

7. Sleep (on a satin pillowcase!)

Of course, get plenty of zzz’s as well. You’ll get more health benefits than just great skin from that. You should also sleep on a satin pillowcase. It’s easier for your skin & hair to slide around on satin than cotton, so it will help prevent wrinkles, keep natural oils in, and it’s also nicer to your hair and eyelashes. Mine is from Savvy Sleepers and I love it.

8. Be Consistent.

This one is SO important! One night of sleeping in your makeup can wreck all of your hard work maintaining your skin. Believe me, I learned this lesson the hard way. Consistency in your skincare routine is key to see lasting results!

So there you have it! These are all things I’ve done to improve my skin. Keep in mind that not everything that works for me will work for you, since everyone’s skin is different. Each tip is a pretty general category so that you can find products within it that work for you. Always test out new products to see how they will react with your skin to find what works and what doesn’t! Sephora is awesome at giving out samples, next time you’re there just ask for a one of any product you want to try out before purchasing the full size.

As always, thank you so much for reading! What products are your skincare must-haves?

signature

Minimalist Nail Art

Minimalist Nail Art - The Lipstick Tales

The trick to great nail art is minimalism. It’s so much easier to do and harder to mess up. This design is inspired in by the nails from the Delpozo Fall 15 show.

When I’m at home I typically just go to the salon and have gel nails done. I have a love affair with that salon and I can’t find one that compares here in Austin. So when I’m away at college (about 80% of the year) I forgo the salon trips unless it’s for a formal and just paint my nails in my apartment. I’ve got a ridiculous collection of nail polish (think 100+ polishes…. it’s a problem) but even then I sometimes get bored of just a simple one-color manicure. Too much nail art can look tacky, and any amount can be difficult to accomplish on short nails.

Enter this beyond easy and still chic look. Here’s what you need:

minimalist nail art polishes

Start out by applying a base coat. I use OPI Nail Envy because it’s a great strengthener and my nails can be pretty weak and break easily. It’s pricey (way cheaper from Amazon!) but I’ve used barely half the bottle in a year & a half, and I paint my nails A LOT. Then apply your nail color. You can use whatever color you want, but I used 3 coats of Essie Marshmallow– 2 coats looked too streaky. Let this dry completely. Once dry, use a nail striper to apply a straight line down the center of your nail. You can use a specific nail striping polish like this gold one I have, use a striper brush with any polish, or use striping tape. Then apply your top coat and you’re good to go! My favorite is Seche Vite – it dries so quick.

minimalist nail art process

Seriously the easiest “nail art” ever. I love all of these nail looks from NYFW last week! Have you ever tried nail art yourself before? Thank you so much for reading!

signature

Weekend Reading

Weekend Reading 2-22{image via theyallhateus}

I guess I should probably have titled this “Sunday Reading” but better late than never right?

1. Obsessed with the makeup look from Rachel Zoe’s Fall 15 show.

2. My other favorite makeup look from NYFW? Diane von Furstenberg, of course.

3. Wishing I could have makeup artist Charlotte Tilbury’s life after watching this.

4. Some great resume & cover letter advice for those job or internship searching!

5. Definitely going to trying out this metallic nail look.

6. We’re getting almost to the midterms point of the semester. Here’s how to stop stress eating.

7. The top six trends from NYFW.

8. Can we predict who will win the Oscars tonight from what designer they’re wearing?

Hope that you all are having great weekend!

signature

Wednesday Wishes // Beauty

Wednesday Wishes // Beautyone // two // three // four // five // six

1. bareMinerals Complexion Rescue.

Full coverage foundation is not really for me. I’ve found that it just feels like too much on my skin, and I honestly don’t need a lot of coverage anyway. I’ve been on the hunt for the best BB cream or tinted moisturizer and I found this. It’s a gel cream that actually helps improve your skin while you wear it. I got a small sample of it from Sephora (I’m huge on sampling products – especially foundations) and I’m in love. I’m definitely going to be ordering this one.

2. YSL Rouge Pur Couture Lipstick in Rose Libertin.

Okay, so I’m kind of cheating here. This one’s not so much of a “wish” considering I just bought it… oops. I haven’t worn it yet so maybe it still counts? It’s a gorgeous pink, and the formula of YSL lipsticks is amazing.

3. Benefit Roller Lash Mascara.

Benefit, you’ve outdone yourself here. They’re Real has been my holy grail mascara for so long now, but I think it’s going to have to step down to make room for Roller Lash. I’ve got a sample of this baby that I will be using every drop of. (Told ya I love samples!) You literally don’t even have to curl your lashes with this mascara, it does it for you AND separates them beautifully. If you’re a Sephora VIB or VIB Rouge member, you can purchase this heaven in a tube now, but if not it will be available to purchase on February 27th.

4. Elizabeth and James Nirvana White Perfume.

Alright, cheating here again. I just bought the rollerball of this perfume because I really don’t need another perfume, but it just smelled so good! Nirvana Black also smells amazing and would be a great nighttime perfume. I bought Nirvana White because the scent is more suitable for daytime wear, while a lot of my other perfumes can be a little too much during the day.

5. Victoria Beckham x Nails Inc Judo Red.

Red nails are my absolute favorite because they’re classic. In Saturday’s Weekend Reading I shared a link on how to find your perfect shade of red. The article focuses on lip color, but also goes great for nails too. My perfect red is a tomato, orange-toned red just like this gorgeous polish.

6. Charlotte Tillbury “The Rock Chick” Eyeshadow Palette.

I’m dying to try any of Charlotte Tillbury’s products. I’ve read nothing but great reviews and the packaging is to die for. I’m obsessed with this look of hers, so I definitely want to get my hands on this palette.

Thank you so much for reading, I hope your week is going well! We had kind of a weird day here in Austin yesterday, so hopefully that doesn’t set the tone for the rest of the week. Also, I’m working on scheduling out posts for the next few weeks, so if you have any post requests please send them my way! What beauty products are you dying to try?

signature

YSL Volupte Tint in Oil

YSL Volupte Tint in Oil

I’m back, to talk about more oil. Or is it lip gloss? Or lip tint? What is this?

For all you lip product newbies, or for those of you who are looking for something effortless: I have found your perfect product. It is YSL’s new Volupte Tint in Oil.

What on earth is a tint in oil, you ask?

It’s defined as “A revolutionary lip color with a lip tint suspended in a deep conditioning oil.” Ok. What? It’s essentially a super moisturizing oil that also tints your lips. You apply it similar to a gloss, and the color develops as you wear it. It’s basically the easiest lip product ever since the color stays even after the glossiness of the oil has worn off. Just put it on and you don’t have to worry about reapplying for a while thanks to the “tint” part of “tint in oil.” Best part? There’s no stickiness like some lip glosses give, which is a huge pet peeve of mine. The formula is very smooth and fluid like you would expect an oil to be, but it’s not runny because the applicator is precise.

There are 8 colors in the collection and all are very wearable. Some are lighter, some are brighter. I picked up  #4 I Rose You (right in picture) and #6 Peach Me Love (left in picture). I Rose You is a lighter pink, that looks pretty much clear when you apply it. It does develop into a subtle pink as it’s worn though and looks very natural. Peach Me Love is one of the brighter colors from the collection, and it is a peachy-coral color. This one is much brighter than I Rose You and more color shows immediately upon application. I’m a huge fan of orange-y hues so I can already tell that Peach Me Love is my favorite of the two. The colors are also pretty sheer, so I would recommend going with the brighter colors available.

I think these are perfect if you don’t really wear lip products and aren’t quite ready to jump into bold lipsticks just yet, or if you just want something easy for everyday. What do you think? Have you tried any product similar to this? Happy Monday & thanks for reading!

signature

Hair Saviors for Fine Hair

There are two truths to having fine hair. It is tangly and it is limp. My childhood smells like Suave kids’ detangler spray from my mother’s desperate attempts to de-knot my hair while I screamed. If you have fine hair, you probably know exactly what I’m talking about. As I’ve gotten older, my hair is still just as prone to knotting, and teasing it from lack of natural volume has not helped either. Combing my hair out after showering used to feel equivalent to having my scalp mauled by a vacuum.

But then I found two products that have quite literally become my hair saviors.

1. It’s A 10 Miracle Leave-in Product. They sure got the “miracle” part right. Just a few sprays of it makes a HUGE difference. My hair colorist, Chris, was the first to use this on me and I think I ran out and bought it that day. No other product has ever de-tangled my hair in the way this does. There is literally no tugging or pulling through knots. This product is also great because it contains keratin, which adds natural strength back into your hair. This is super important if you use a lot of heat tools.

2. Kevin Murphy Body Builder Mousse. The main reason why fine hair doesn’t have volume is because there isn’t really any texture to it. Any sort of volumizing mousse helps add texture to give your hair more body. However, a lot of these products give your hair that dreaded “crunchy” feel and make your hair feel heavy. Kevin Murphy’s does not- it’s lightweight but still adds volume. I put about a golf ball sized (or more) amount in one hand and take small amounts from that to work into my roots all over while my hair is still wet. Adjust how much you use to how much hair you have; I don’t have a ton of hair unfortunately. Then just blow dry your hair and natural looking voluminous hair is yours!

Both of these products are great even if you don’t have fine hair, they’re absolutely suited for all hair types. The It’s a 10 Miracle Leave-in product you should be able to find easily at Target or Walgreens, but you’ll have to visit a salon to get your hands on any Kevin Murphy products, and you can locate one near you on their website. If you’re in Austin, head to Luxe Apothetique in the Domain for Kevin Murphy! I just picked up this product there the other day and I’m already loving it.

What are your must-have hair products? I hope you are all having a great week and thank you so much for reading!

signature

Cleansing Oils

Cleansing Oil

I’ve been really trying to focus more on skincare lately. I used to think just using a face wipe to take off my makeup at night was okay, and now I cringe at the thought. Recently I’ve adopted the “double cleanse” method, which comes from Korean skincare. I know, washing your face twice seems like serious overkill. The trick is to use a moisturizing cleansing oil as your first cleanser since it will strip away makeup, but not your skin.

I know what you’re thinking. “Hunter, I have oily skin. PLEASE do not tell me to rub more oil on my face.” Hear me out- you need this. I was not a fan of the idea of using oil to clean my face. I have very oily skin and usually always opt for oil-free products whenever possible. Plus, the thought of rubbing oil on my face just seemed… wrong. However, oil attracts oil so believe it or not using a cleansing oil actually helps remove unwanted shine. Of course, I wasn’t completely sold on this idea but I had to try it out.

I bought the Garnier Cleansing Oil, since I didn’t want to spend a lot of money on a product that I was nearly certain I wouldn’t like. (Surprise, I was wrong.) First off, the oil smells great. It’s kind of tropical and summery, which is refreshing in the middle of winter. To use it, make sure that your hands and face are completely dry, and get about 1-2 pumps of oil on your fingertips. Then, just massage it into your skin to remove makeup. It’s safe to use around your eyes, too. Once I feel like I’ve covered pretty much everywhere that needs to be cleansed, I add water so that it emulsifies and rinse the oil off.

And poof. All makeup gone. Even every last bit of my mascara, and my skin feels incredibly clean- not oily or gross at all. I then wash my face a second time with my Boscia Detoxifying Black Cleanser to ensure that my skin is super clean and to remove any of the cleansing oil that I may have missed. This step is what really helps deep clean your skin better than just washing your face one time with your usual cleanser.

I thought for sure that using an oil to clean my face would do more harm than good, but I swear my skin has never felt so clean. My skin has even gotten softer over the past month that I’ve been using a cleansing oil. It also doesn’t feel like I’m having to scrub at my skin to get rid of all my makeup, it takes it off SO easy. I highly recommend using a cleansing oil especially if you have oily or troubled skin. I promise you it’s worth the extra time invested in your skin. I double cleanse morning and night since my skin is pretty oily when I wake up, but if yours is drier you will probably only want to at night. I don’t think I’ll ever go back to just washing my face just once again.

I’ve been sampling this Josie Maran oil recently, and so far I think I like the Garnier version better since it has a little bit thinner consistency and seems easier to get all of my makeup off. I also really want to try this cleansing oil– apparently one is sold every ten seconds worldwide.

Have you ever tried a cleansing oil, and do you have a favorite one? Let me know if you have one I should try, and thank you so much for reading!

signature

Instagram

@hunteredelbrock

Copyright © 2024 VITAL BLONDE · Theme by 17th Avenue

Copyright © 2024 · Couture on Genesis Framework · WordPress · Log in